Get to know with the presentations of our service for individual industries:
Loading
7/1/2023
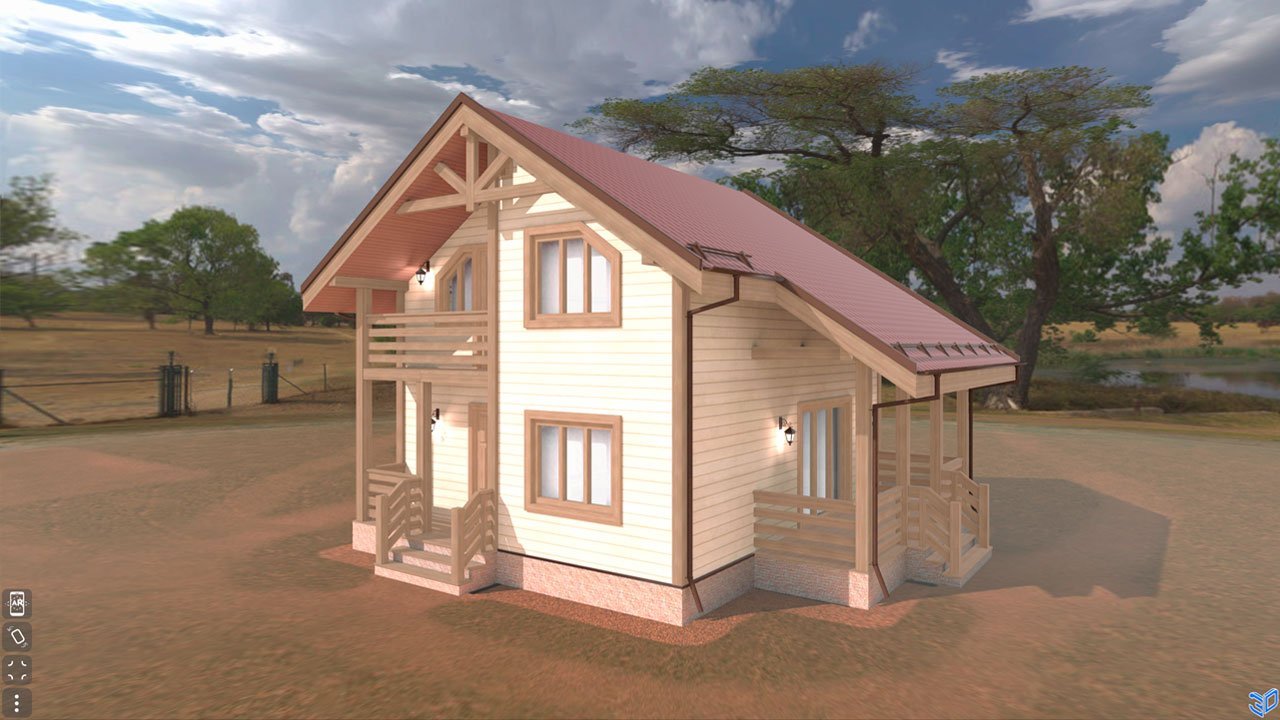
How to make a 3D website
All postsIn this article we will tell you how to implement 3D on your website using our service.
Preparing a 3D model
It is important to properly prepare the model. For maximum quality, we recommend saving the model in GLB format. The Blender 3D graphics editor is well suited for this.
After finishing the modeling process or opening the finished model, we recommend doing the following:
- Set the mesh centers in their geometric centers, and place the entire model in the coordinate center
- Adjust the detail of the model (smooth out or vice versa reduce the number of details)
- If possible, assign only one material to each mesh
- Add textures where they are missing, or adjust their overlay
- Pack textures before exporting
- Apply all modifiers
- Remove unnecessary polygons and optimize the texture weight so that the final size of the model without compression is up to 3 MB
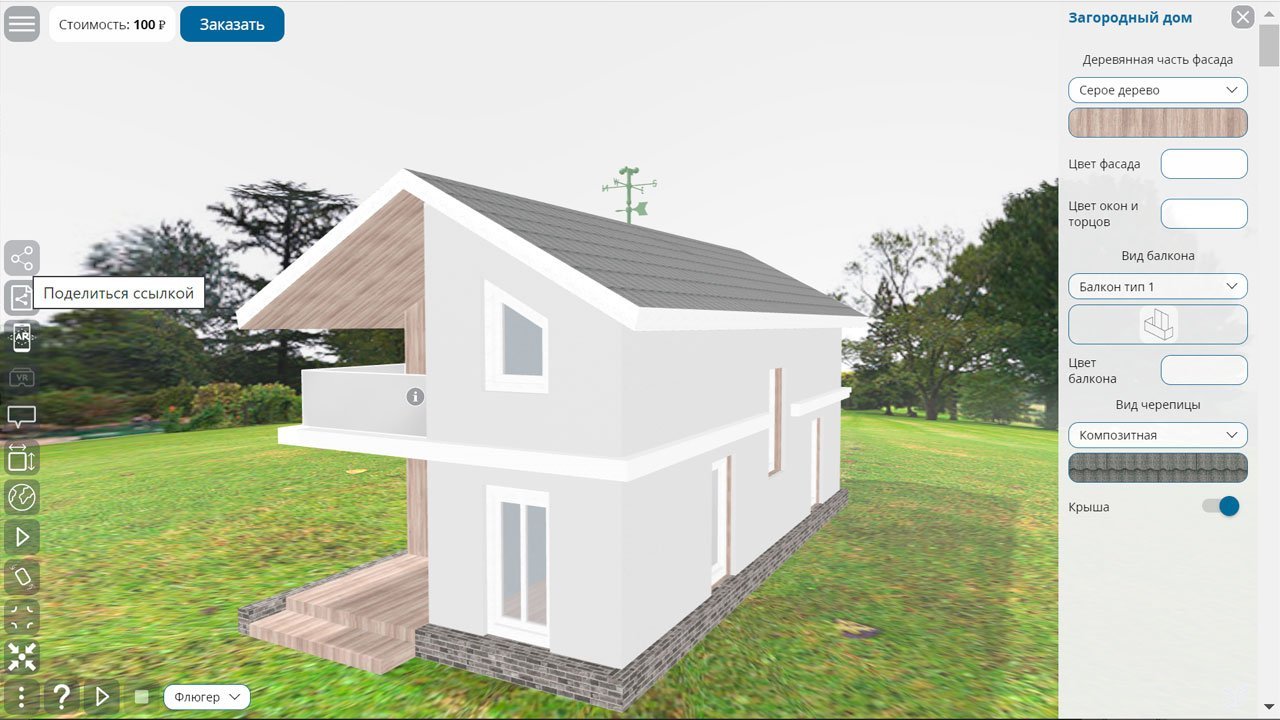
Creating a project in Site3D Configurator
- We go through a simple registration in the service and click on the button to add a new project.
- Upload the prepared 3D model
- Setting up the scene parameters
- If necessary, we add texture and color options for individual parts of the model, as well as other parameters that the user of your 3D widget can choose
- If required, specify the logic of calculating the cost of the final product and connect the order form
- We get a code to insert on the site or a link to view
Total
The 3D block embedded on the site will work on any site management platform, including in constructors like Tilda, and the copied link to view can be inserted on any Internet resource (for example, a social network or a thematic community).
For more information about the operation of the service, see the user manual.