Get to know with the presentations of our service for individual industries:
Loading
8/19/2023
How to place a 3D model on a website
All postsToday we will look at how to add a 3D model to your website. The article will be useful regardless of whether you have a ready-made model or not.
We are preparing a 3D model for insertion on the website or display by link
If you already have a ready-made model or you want to model it yourself or give someone else a task to create it, we strongly recommend that you read our guide, where we tell you without further ado how to create a 3D model optimized for viewing in a browser.
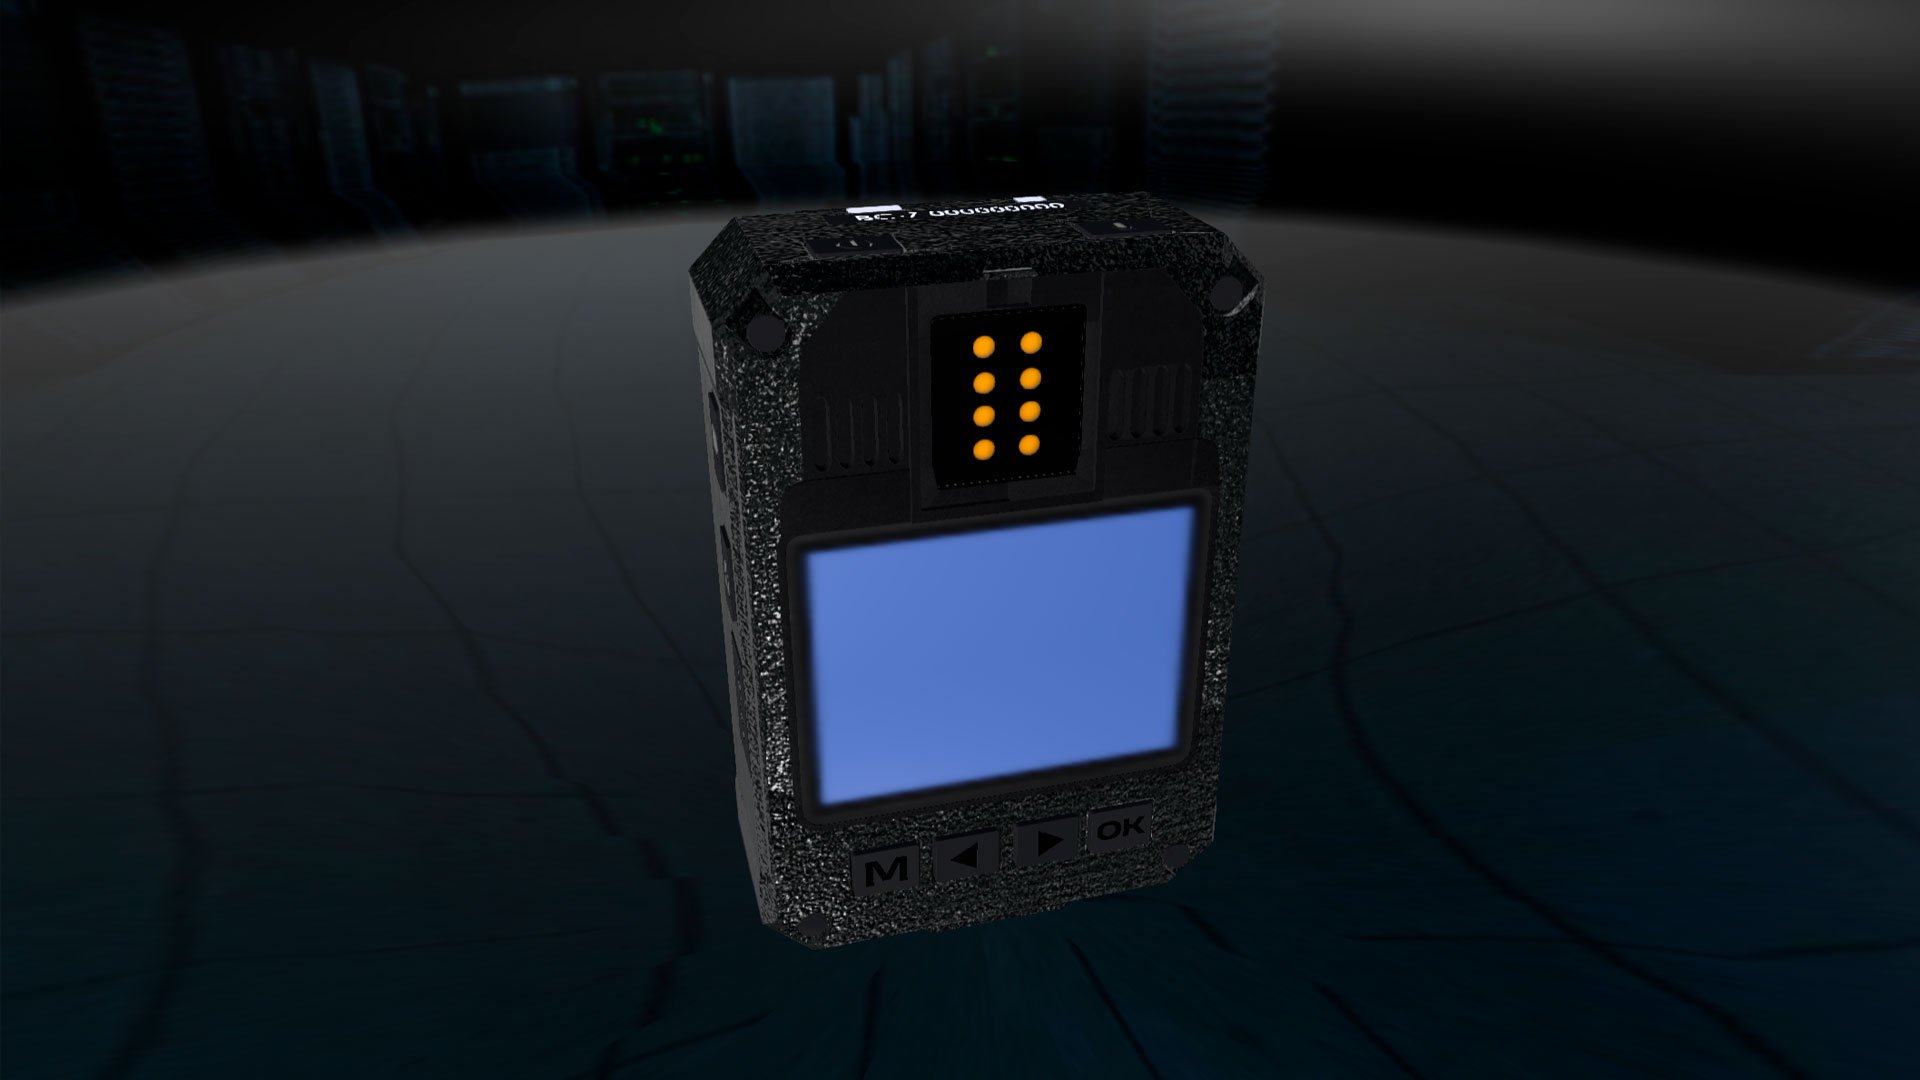
If you do not need a unique model for your product, then you can search for a suitable option in our catalog at the first step of creating a project. If you do not find anything suitable, then write to us in support, and we will add the model you need to our catalog for free.
Creating a 3D widget project
First, we register in the service, then click on the "Create a new project" button and download the prepared 3D model at the first step.
At the second step of the project creation wizard, we configure our 3D scene: starting view, scaling, rotation, animation control, size display, environment, lighting, user interface and other parameters.
At the third step, we are working with parts of the model: configuration settings, labels, links, cost calculation, etc.
At the fourth step, we get the code to insert on the site or a link to view.
Adding a 3D model to the site
If you have a Tilde site, then the copied code should be inserted into Zero block (read more in our article).
If your site is made on Wordpress, it will be more convenient to use our plugin and copy the short code in the "Shortcode for Wordpress" tab on the fourth step.
In other cases, the copied code must be inserted into the HTML template of the desired site page or to the appropriate place in the administration panel of the site management system used.
You can also contact our support so that we can help you with placing a 3D review on your site.